Smart Tasks
Setting a new task
Setting a new task for students should take a teacher less than five minutes. An intuitive seven-step wizard guides the teacher through the process. If you are called away, you can close and pick up from where you left off later.
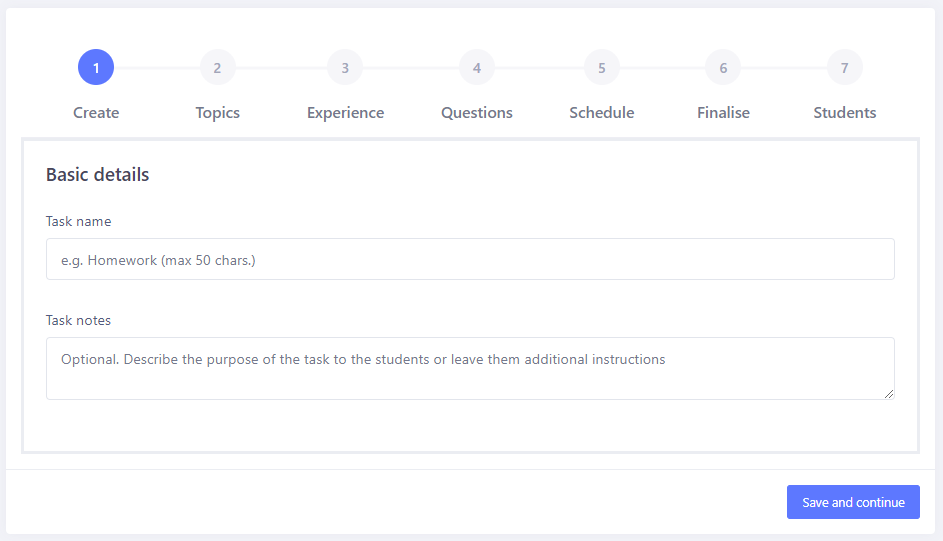
Step 1: Give the task a name
A task name allows you and the students to identify the task later. The date is automatically included. You can also enter additional instructions for the student such as, "Don't forget to use your text book to help you."
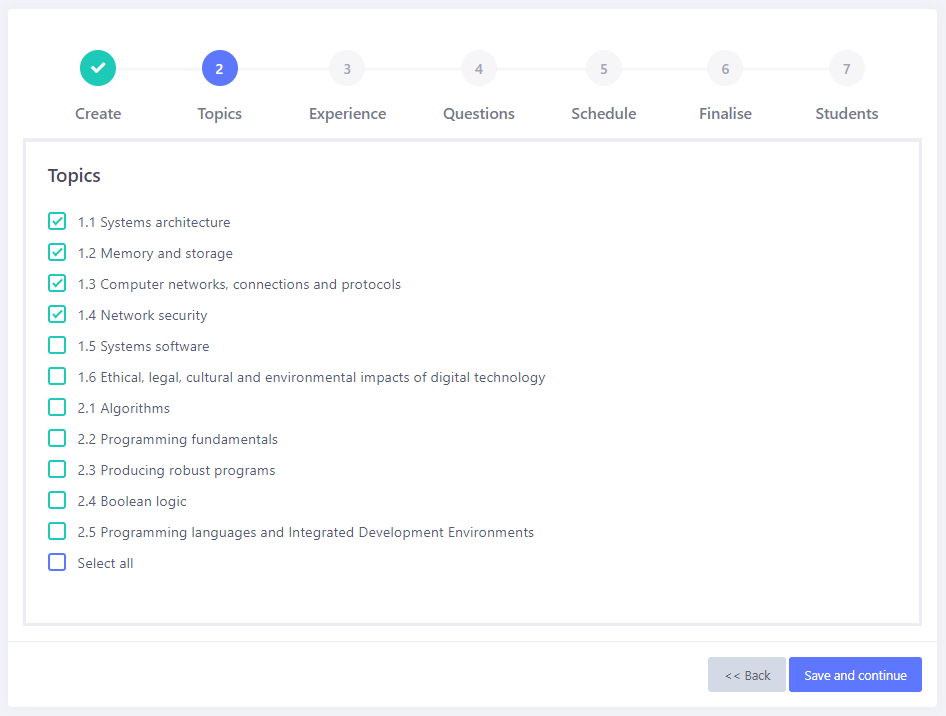
Step 2: Choose the topics
Selecting one topic allows you to set end of topic tests easily. You could also choose all the topics previously taught for revision. You could select all the topics from one unit to simulate mock exams.
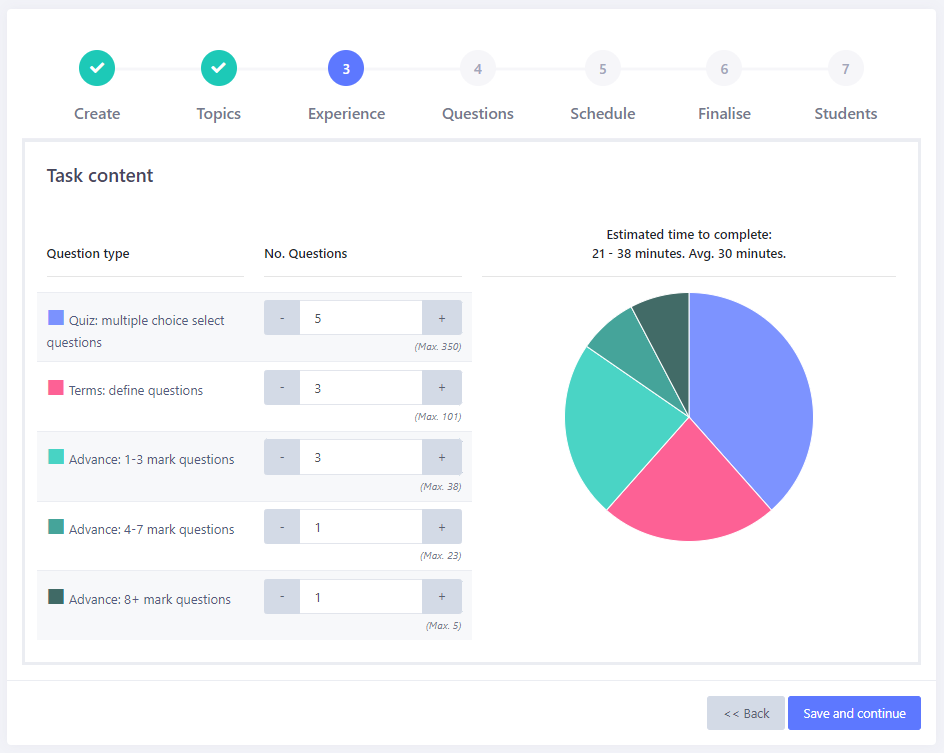
Step 3: Configure the task experience
The experience is how many of each type of question will be chosen for the task. Choose only multiple choice questions if you want zero marking! Choose one Advance 8+ mark question if you want to focus on an open-ended question for class discussion later. Simulate a real mock exam by choosing the appropriate number of each style of question. The estimated time to complete shows roughly how long the task will take before the questions have been chosen.
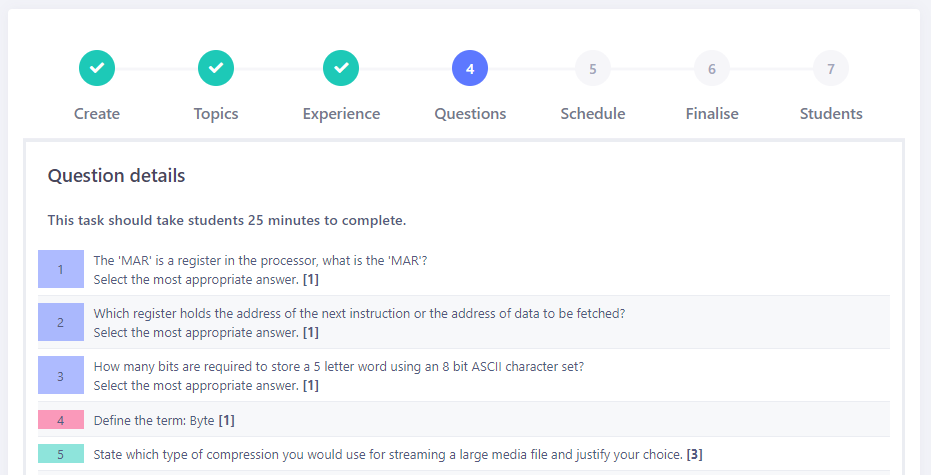
Step 4: Choose the questions
To reduce teacher workload Smart Revise will automatically choose a set of questions based on the topics and experience you have chosen. If you don't like the questions, you can generate a new set. In future releases coming soon you will be able to swap individual questions or even choose your own from the complete set available. The time to complete the task is shown once the questions have been decided.

Step 5: Schedule the task for completion by the students
Choose when the task will become available for students to see and complete. Also choose whether to set a deadline or not. Students can still complete a task after the deadline, but late submissions will be indicated in the mark book. Coming soon is the option to enforce a deadline so that students cannot continue working after the deadline has passed, and timed tasks to simulate real examinations.

Step 6: Finalise and confirm
Check all the details for the task are correct. You can go back to any previous step of the task creation at any time.

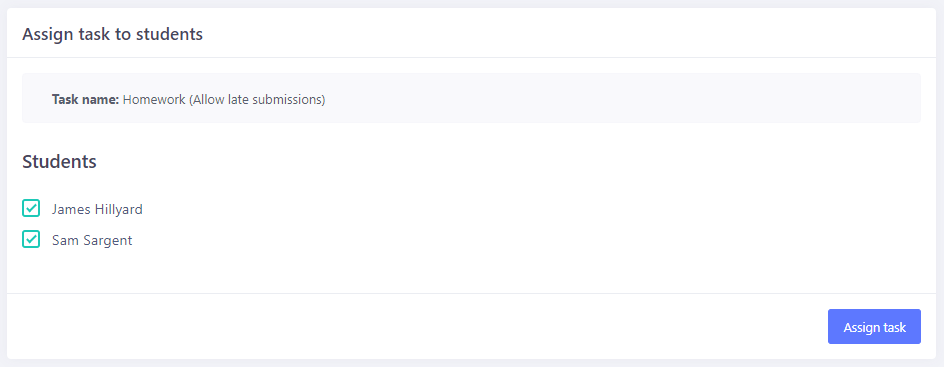
Step 7: Assign the task to selected students
Choose which students to assign the task to. You can choose not to assign a task to students that are absent, or if this is a task for students to complete that are working from home, untick those that are present instead. You can add or remove students from the task from the active tasks list once assigned too. In the future you will be able to assign tasks across multiple classes, across different year groups and share task templates with colleagues.